
Start With A Base That Can Carry The Weight
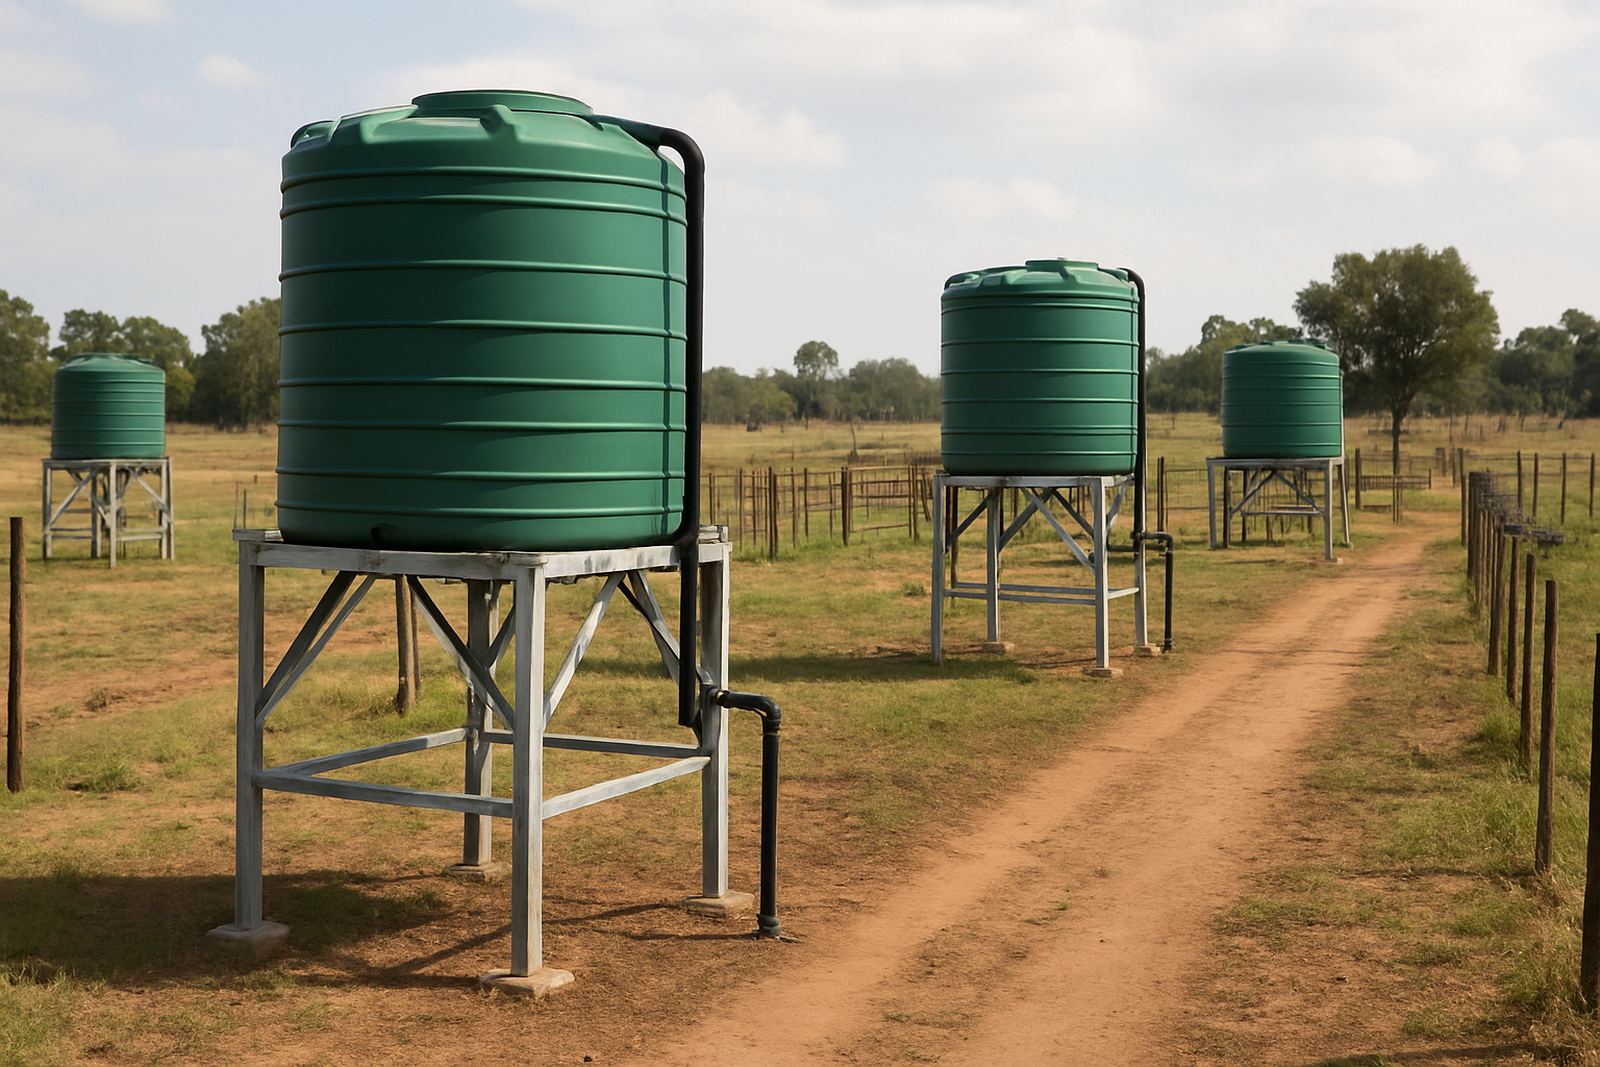
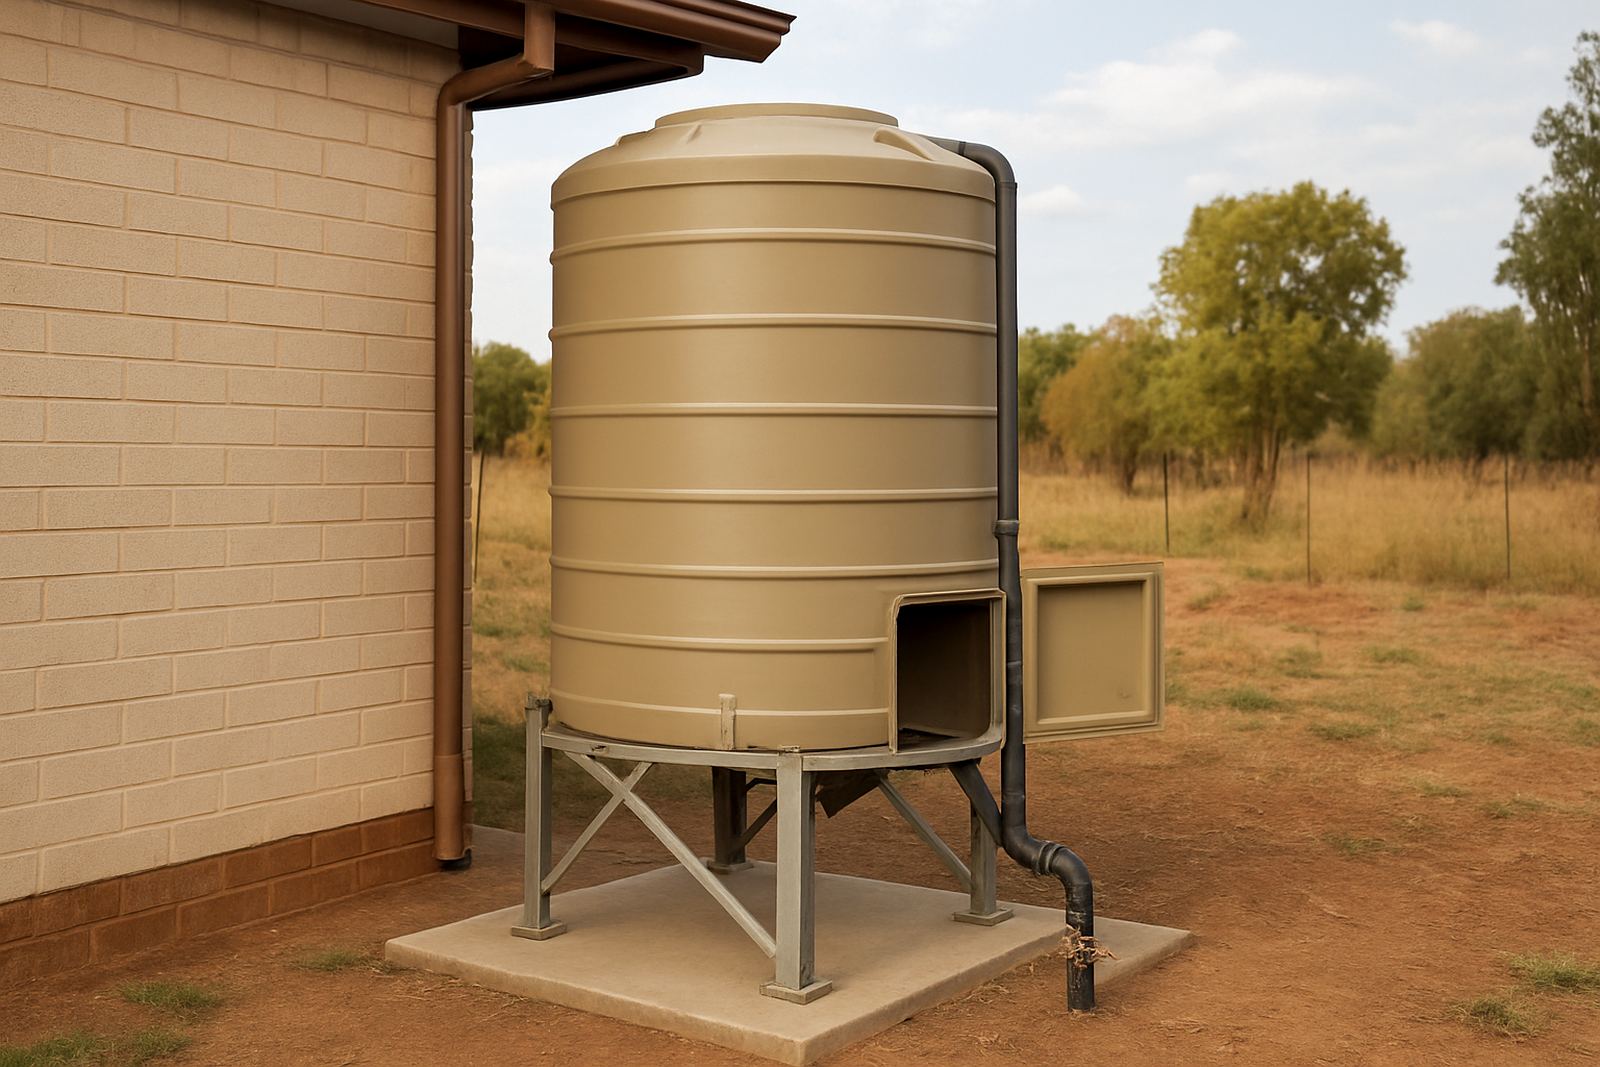
A tank is only as good as what it stands on. Once full, even a modest tank carries a serious load, so the ground beneath it must be level, firm and built for the weight. On sandy ground around Hartbeespoort or on a sloping farm yard outside Rustenburg, a quick patch of gravel is not enough. A proper concrete slab, compacted base or engineered stand helps keep the tank upright and prevents stress on the fittings.
For most home installations, the base should be flat and square with enough clearance around the tank for cleaning and inspection. For larger farm storage, the slab should allow for pipe entry, valve access and service work. If the site sits in a windy area or the tank is installed on a high point, the base needs extra care. A tank that settles unevenly can twist the pipework and put pressure on the outlet, which is where problems often start.
It also helps to think about future maintenance before the concrete is poured. Leave space for a ladder if needed, and keep the tank away from walls, sharp edges and places where vehicles may reverse. A small mistake at the start can turn into a big repair job later.
Choose A Spot That Still Works After The First Rainy Season
Tank placement should suit the weather where you live. In the North West, hard summer rain can wash soil away fast, while coastal areas such as the Western Cape bring wind and moisture that affect fittings and fixings. A tank placed in a low-lying corner can collect dirty run-off, while one placed too close to a boundary wall may become hard to service when the tank needs attention.
Try to place the tank where roof water, yard water and ground water do not pool around the base. If the site is on a farm, make sure the tank is not sitting in a pathway used by tractors, bakkies or stock. In a home setting, the tank should be visible enough for quick checks but not in the way of daily movement. That balance is important, especially if you are working with limited space in Pretoria or a compact plot in Paarl.
Sunlight matters too. Too much direct sun can warm the water and encourage algae growth in some tanks, while shaded areas can be cooler and easier on fittings. A position that gets morning sun and some afternoon shade is often suited to domestic use, but the best spot depends on tank type, water source and local conditions.
Plan Access For Delivery, Lifting And Future Repairs
Access is often overlooked until the tank arrives. A narrow gate, low tree branch or soft yard can delay the job and increase handling risk. Before delivery, measure the route from the road to the final position. Check gate widths, slope, overhead wires and whether the truck can turn safely. This matters for homes in suburbs and for farms where entrances are long and uneven.
If the tank is large, think about how it will be unloaded and moved into place. Some sites need a clear hard surface for a bakkie with a trailer, while others need lifting equipment or extra hands. Once installed, the tank still needs access for annual maintenance, pump servicing and tank cleaning. If you have to climb over flower beds or remove fencing every time, the location is not ideal.
Good access also makes it easier to inspect fittings after load shedding, a thunderstorm or a period of heavy use. In many cases a quick visual check can catch a loose union or slow leak before it becomes a bigger issue. Keep the area around the tank neat and open, even if space is tight.
- Measure the access route before delivery day.
- Check for gates, overhanging branches and soft ground.
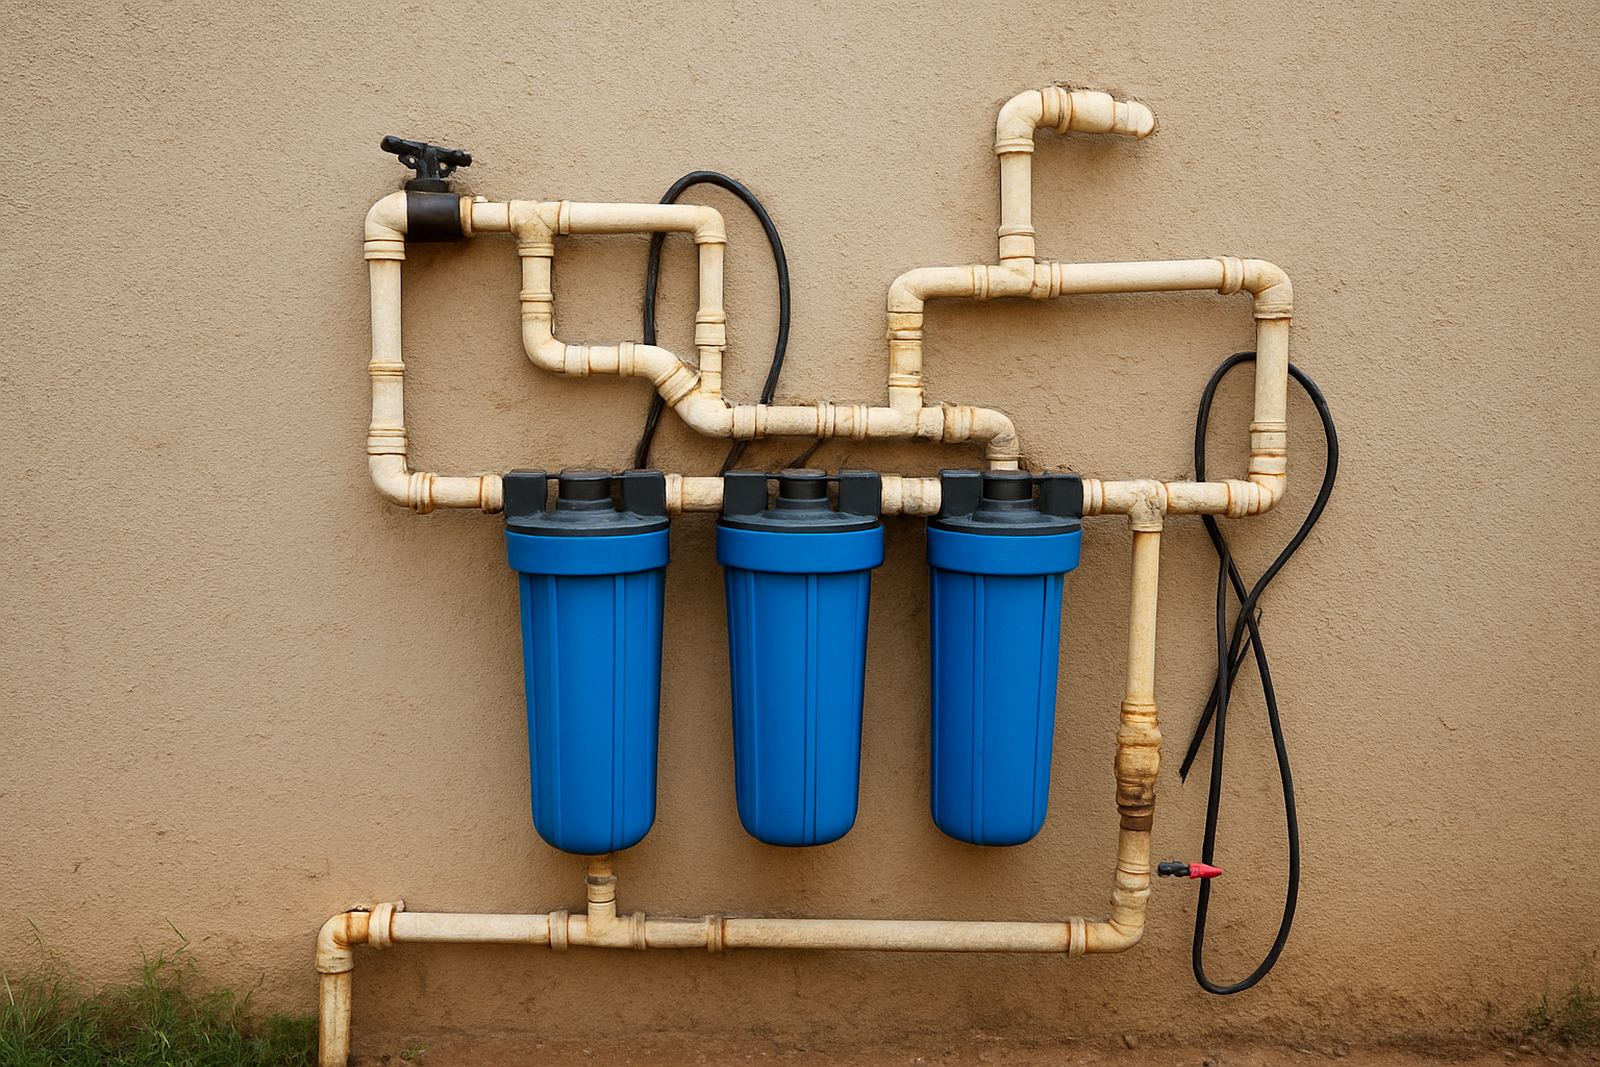
- Leave room for a technician to service valves, pumps and filters.
- Make sure the tank can be reached without damaging paving or planting.
Keep Sunlight, Heat And Algae Under Control
Sunlight is useful, but too much direct exposure can work against water quality. Clear and light coloured tanks can be affected faster if they stand in full sun all day. Even where the tank is built for outdoor use, shade still helps reduce heat build-up and can limit algae growth. That is especially useful in warmer inland towns where summer temperatures climb quickly.
Where possible, place the tank under light shade from a roof edge, shelter or tree line, but not so close that leaves, roots or falling debris become a problem. Trees can drop organic matter into open tops and make tank cleaning more frequent. If the site has no natural shade, consider a simple cover or protective enclosure that still allows inspection and ventilation.
Do not forget the fittings. UV exposure can age exposed pipework and seals, while strong heat can affect flexible components over time. A bit of planning upfront helps the system last longer and stay easier to manage during dry months.