
Confirm the right position before any work starts
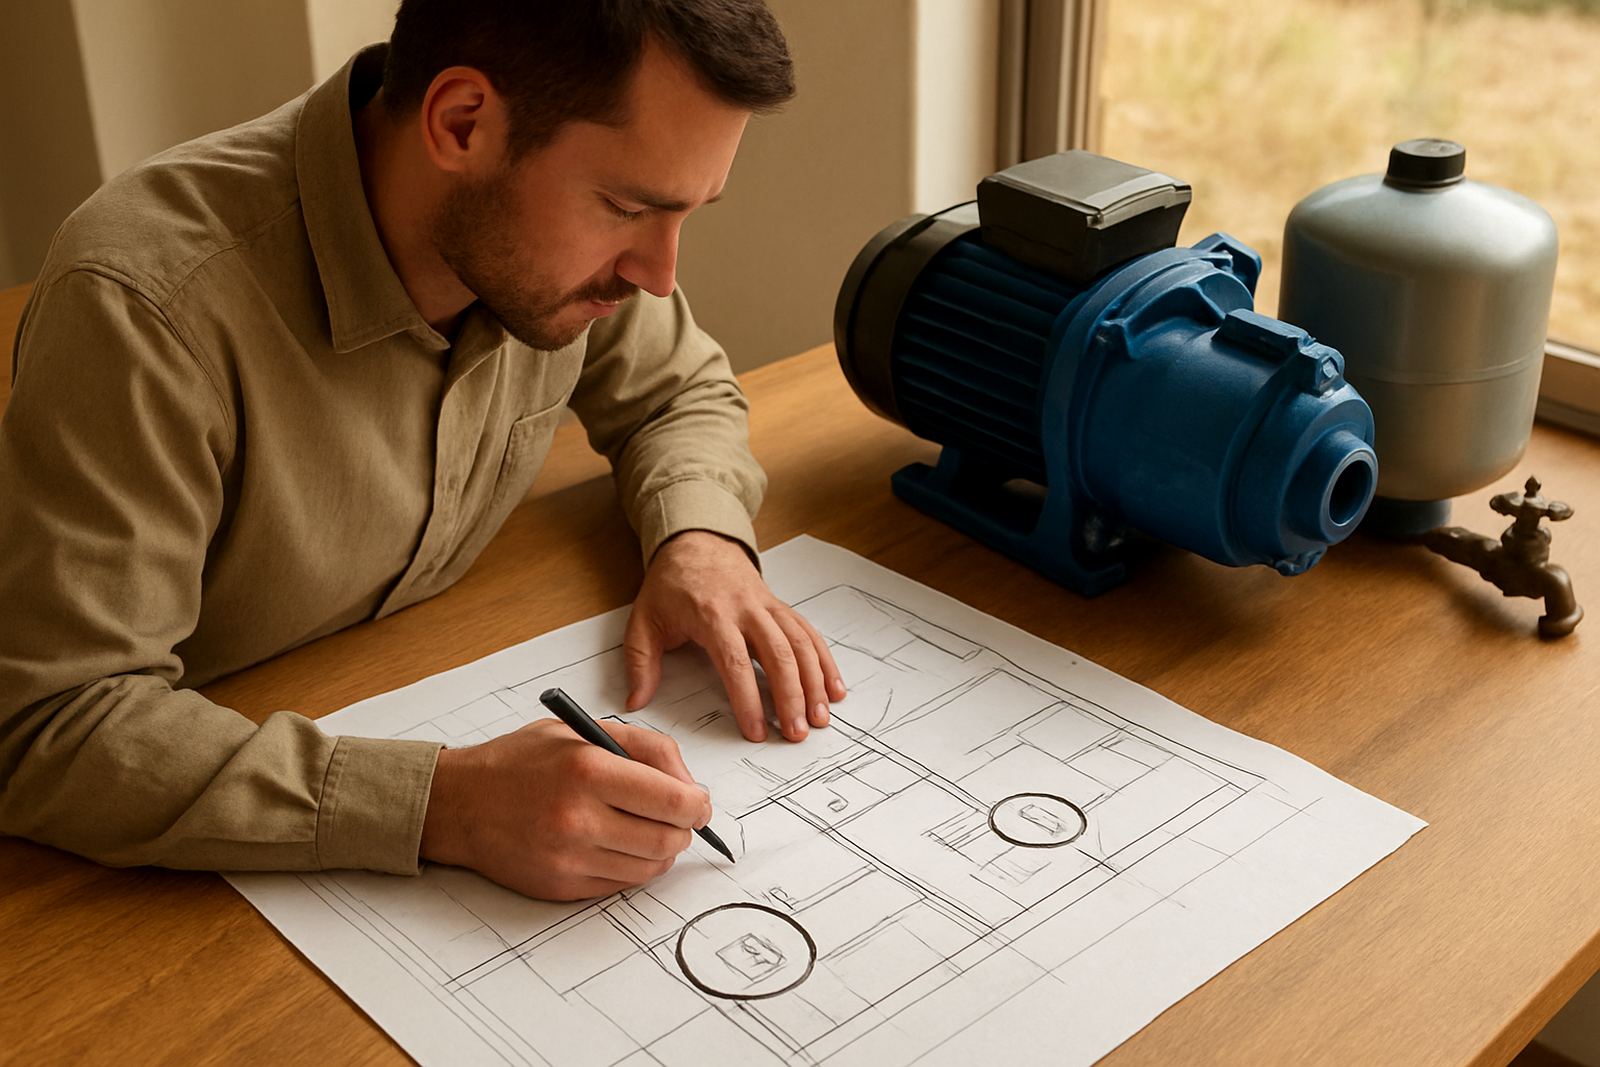
Start by marking the exact position for the tank, pump set, filter skid or borehole equipment. The site should suit the flow of water on the property, but it must also leave enough room for maintenance, lid access and safe movement around the equipment. In a home in Pretoria that may mean keeping the tank close to the house and out of the main driveway. On a farm outside Rustenburg it may mean planning for longer pipe runs, a service vehicle turning area and a place where livestock will not interfere.
Check that the chosen position is not in a low spot where stormwater pools after heavy rain. In coastal areas like Somerset West or Paarl, humidity and windborne dirt can also affect fittings and cabinets, so a dry and sheltered spot is worth the effort. If you are unsure, a quick site assessment before delivery saves time and avoids moving heavy equipment twice.
- Allow space for lids, valves, filters and future servicing.
- Keep clear of tree roots, wash lines, gates and vehicle routes.
- Make sure the position suits the inlet and outlet pipe direction.
- Leave room for safe lifting, loading and maintenance access.
Build a level base that can carry the load
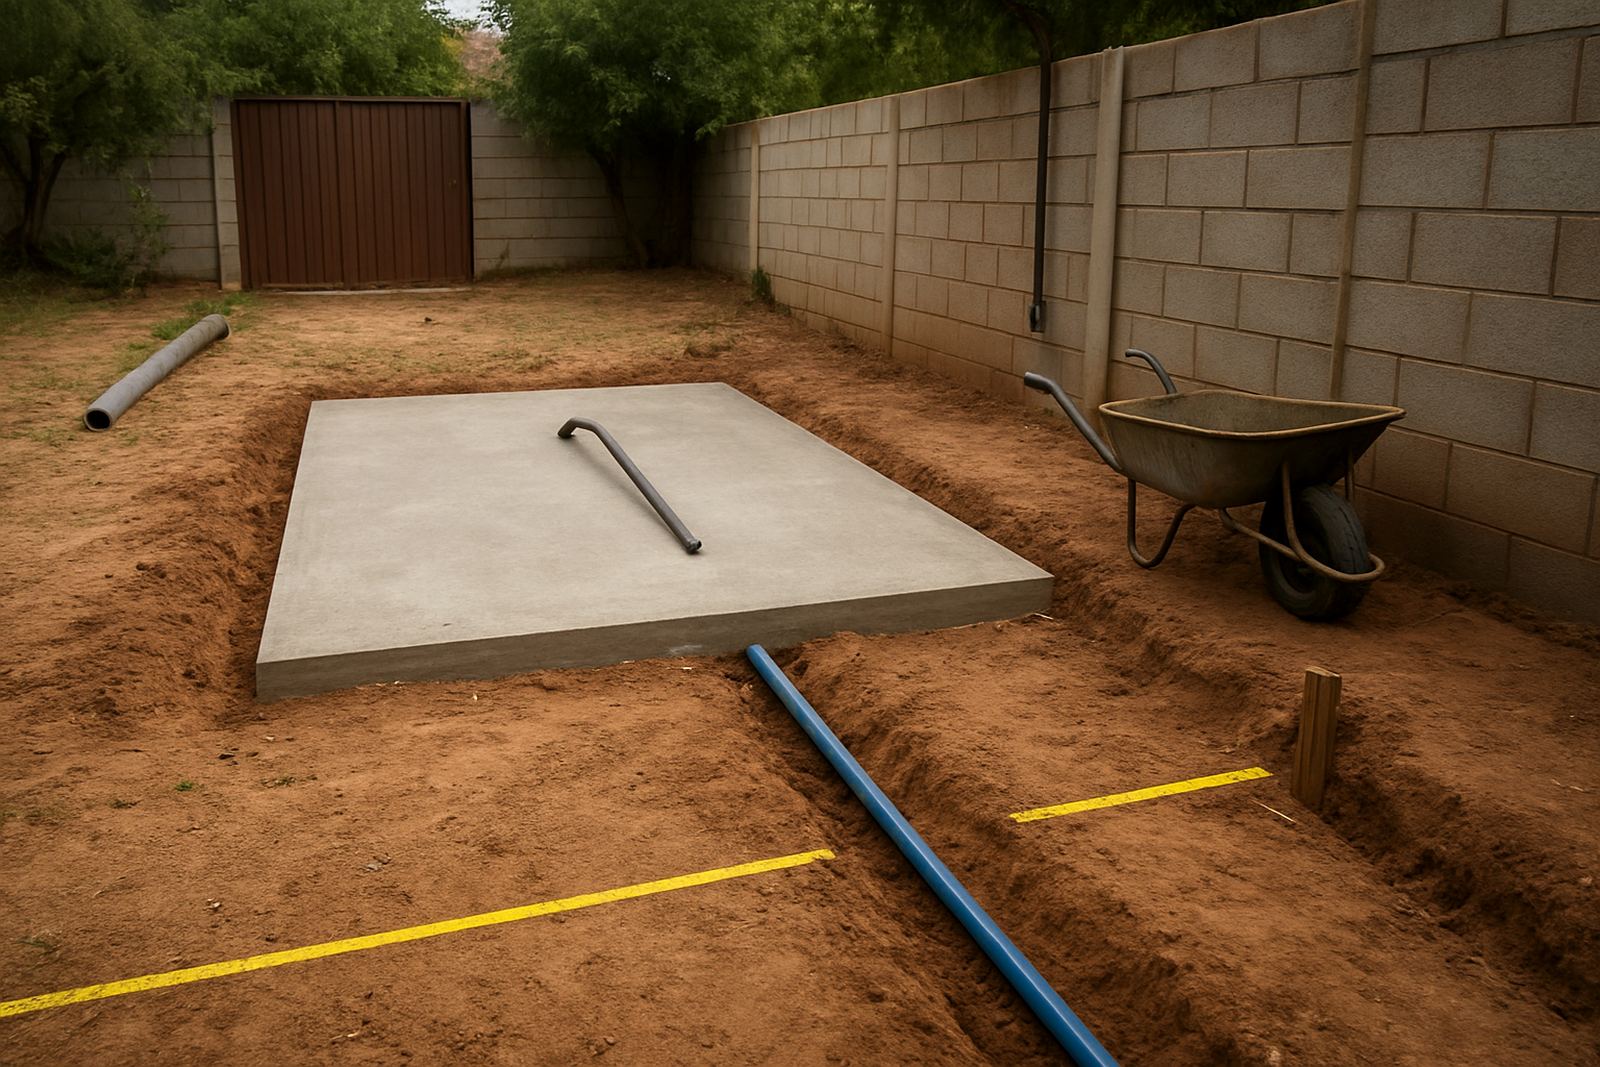
Most problems on installation day come from an uneven or weak base. A tank filled with water, or a pump and filtration set with pipework attached, puts steady pressure on the ground beneath it. The base must be level, firm and able to support the full working load without settling. For smaller domestic setups, a concrete slab or compacted hardcore base may be suitable. For larger agricultural systems the load can be far higher and the base must be planned properly from the start.
Do not place tanks directly on soft soil, loose sand or freshly backfilled ground. The base should be dry and stable, with no cracks, sharp stones or protruding edges that can damage the tank bottom. If the area is on a slope, level it before delivery instead of packing material under one side later. That kind of patchwork often causes stress on fittings and can throw the whole system out over time.
- Check the slab is level across the full footprint.
- Make sure there are no dips, humps or loose fill under the base.
- Allow drainage away from the base so standing water does not collect.
- Use a surface that will not shift after the first heavy rain.
Plan access for delivery and installation gear
The delivery route matters as much as the installation point. If a truck, trailer or bakkie cannot reach the site, the job slows down immediately. Measure gate widths, low branches, overhead cables and turning space before the day of delivery. In areas such as Hartbeespoort or Brits where properties can have narrow driveways and boundary walls, this step is especially important. On farms, take note of loose gravel, muddy patches and low bridges that may affect access after rain.
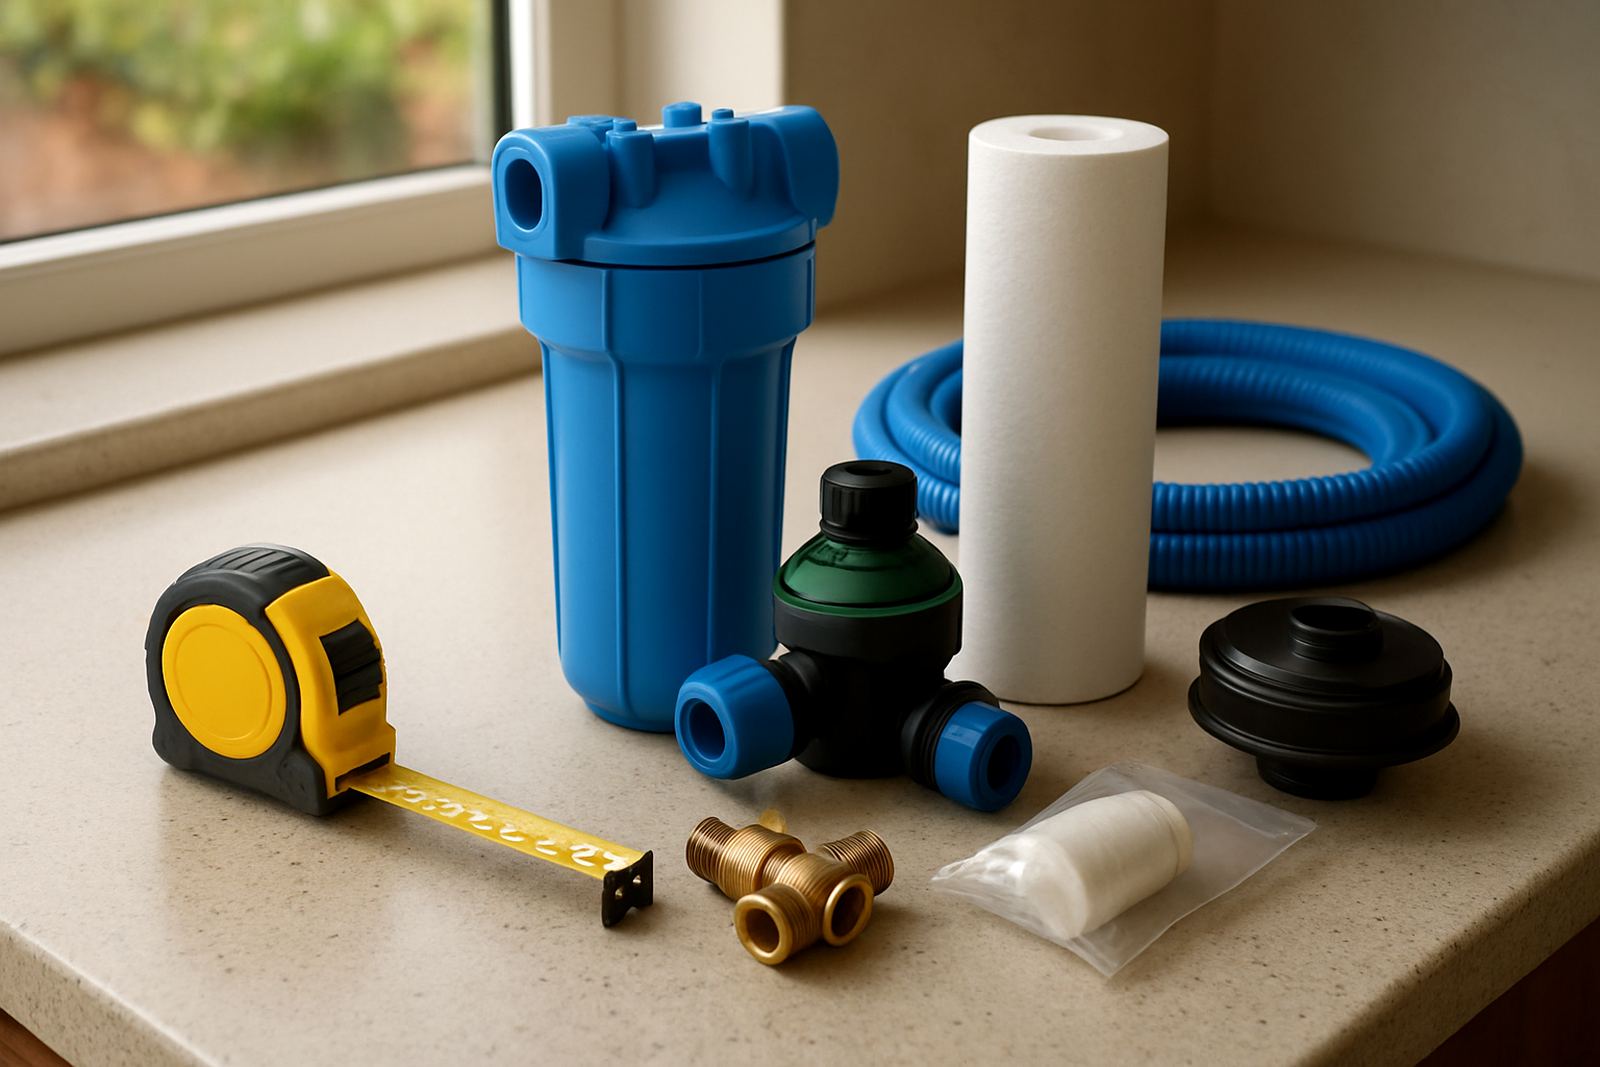
Installation crews may need to bring in ladders, pipe lengths, hand tools and lifting gear. The route should be clear, safe and free from obstacles. If the site is within a security estate or a municipal area with strict access times, arrange those details in advance. A clean access plan also helps if the team needs to return for commissioning checks, filter changes or pump servicing later on.
- Measure gate openings and turning space for delivery vehicles.
- Check for overhead cables, low trees and uneven surfaces.
- Keep the route free of rubble, scrap metal and loose stones.
- Confirm security access, delivery times and site contact details.
Sort out drainage before the system arrives
Drainage is often overlooked, yet it is one of the main things that affects long-term performance. Water from overflow, backwash, wash-down or maintenance work must have somewhere to go. If the area holds water, the base can soften, fittings can corrode and the site becomes difficult to service. Good drainage is especially important for filtration areas and pump rooms, where small spills can become a problem quickly.
Think about where rainwater moves during a storm. If the site is at the bottom of a slope, cut-off drains or a raised platform may be needed. In sandy areas drainage may look fine at first but still create washouts around the base. In clay soil it can puddle for hours after the rain stops. A slight fall away from the equipment is usually better than a flat hollow that traps water.
- Confirm overflow and wash water can leave the site safely.
- Keep the base above any flood-prone area.
- Provide a clean run-off path that does not undermine the slab.
- Check that drainage will not affect neighbouring stands or boundary walls.
Make the power point and control space ready
If your system includes an electric pump, controller or filtration unit, the power point must be ready before installation begins. It should be correctly positioned, protected from weather and easy to reach for maintenance. On South African sites, load-shedding planning matters too. If you have a backup supply, inverter or generator connection, the layout must allow for safe changeover and enough room for cables and controls.
Do not place sockets where water can splash onto them, or where a tank overflow may reach them. Keep all electrical points neat and labelled. If the equipment needs a weatherproof enclosure, make sure there is enough ventilation and space for heat to escape. For rural properties, longer cable runs should be planned properly so they are not strung across paths or left exposed to damage.
- Install power points in a dry, protected location.
- Plan for load-shedding and backup supply if needed.
- Keep cables out of walkways and vehicle paths.
- Leave enough working space around switches, controllers and pumps.
Prepare the pipe route from source to storage and use
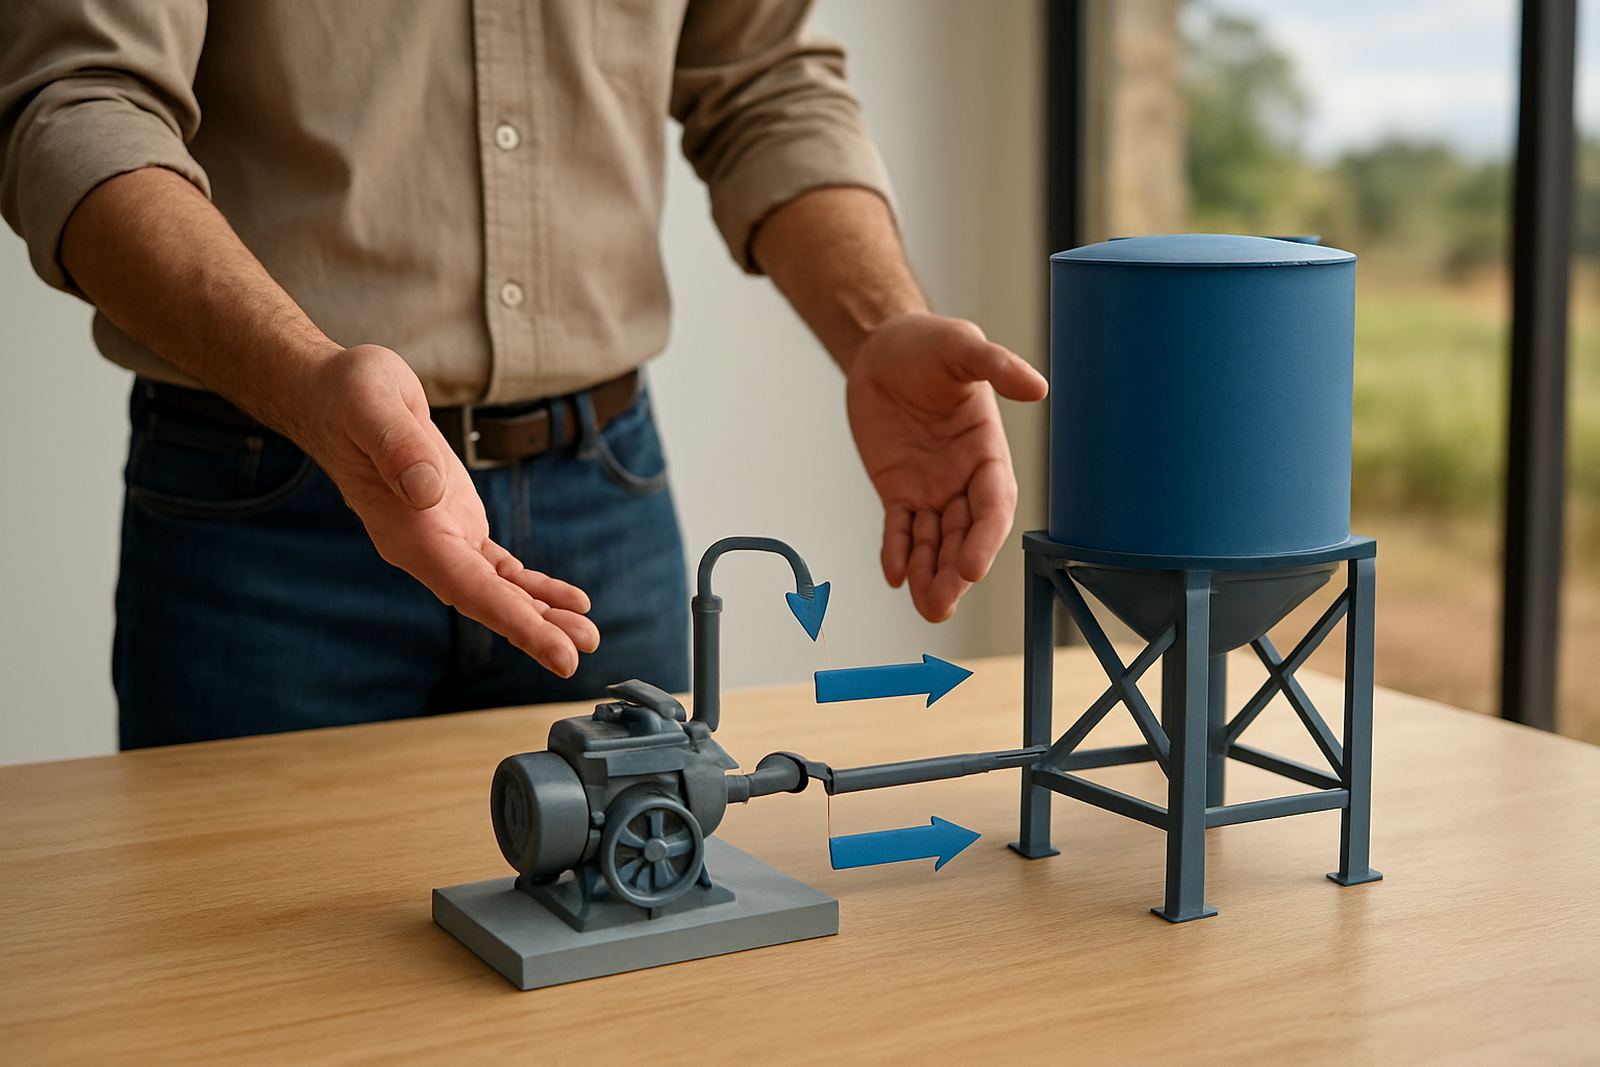
The pipe route should be simple, direct and protected. Whether the water is coming from a borehole, rain tank or filtration point, the line needs a clear path to the storage tank or point of use. Avoid sharp bends where possible and keep the run away from places where cars, animals or tools may damage it. A neat route also makes it easier to isolate sections for fault finding later on.
Before the team arrives, check where pipes will enter the building, the tank area or the pump position. Wall penetrations should be ready and sealed properly. If the run is underground, mark it clearly so future digging does not hit it. This is worth doing carefully on both homes and farms, because unmarked pipes often get damaged during garden work or fence repairs, and then the whole system stops until repairs are done.
- Confirm the pipe route is as short and direct as practical.
- Protect pipes from traffic, livestock and digging damage.
- Prepare wall openings and seal points before installation day.
- Mark underground runs clearly for future maintenance.
Use a final checklist before the team arrives
When the site is ready, walk through it once more and check the basics. The ground should be level, the access clear, the drainage sorted and the power point in place. This final check avoids delays and helps the crew start with the right materials and fittings. It also gives you a chance to spot anything that still needs attention, such as a blocked gate, a loose slab edge or a pipe route that needs adjusting.
For larger projects in Bloemfontein, the Western Cape or around the North West, it is worth having one person responsible for site readiness. That person can confirm the details with the delivery team and make sure the installation day runs smoothly. A prepared site usually means less mess, fewer delays and a better result from the start.
- Base level and stable.
- Access clear for vehicles and equipment.
- Drainage planned and working.
- Power point ready and safe.
- Pipe route marked and protected.
- Contact person available on site.
If you need help checking whether your site is ready, use the enquiry form on our contact page and send through the property details. A proper preparation step now can save a lot of trouble later on.